This has been a very productive weekend on the Glenda project. Lots of cutting, painting and gluing and I can finally see the light at the end of the rainbow. I was hopping to get it all finished this weekend but it's kind of like a home improvement project that just keeps getting bigger and bigger.
There wasn't a whole lot of progress on Saturday but I did get glitter glue dots on the bodice.
And the pattern laid out for the crown.
And the crown cut out.
Then a regular Saturday of getting groceries and stuff intruded.
I have had most of Sunday to get more done.
I put balloons in the sleeve caps so I could get the glitter stars on without getting them on the rest of the dress. This time I used Extreme Glitter Paint instead of glue. Wish I had found out about that stuff before I started the dress. It's a lot easier to use and dries a lot quicker than glitter glue.
I used white paper covered floral wires in bundles of 5 to make supports for each point of the crown. I spiraled the tops and bottoms of the wires and glued the full length of the bundle to the crown with supper tacky fabric glue. The wires had to be weighted down to make sure they stuck and didn't curl away from the material. The fabric glue dries very fast so I didn't have to wait too long to work on the decorations. Again I used the glitter paint, instead of glue, and painted each bundle of wires and made small glitter dots on the body of the crown.
When I had all but the seam finished and dried I overlapped and glued the seam and glued on the final bundle of spiraled wires. They are now sitting under the weights and I will paint them next time I get to work in the basement.
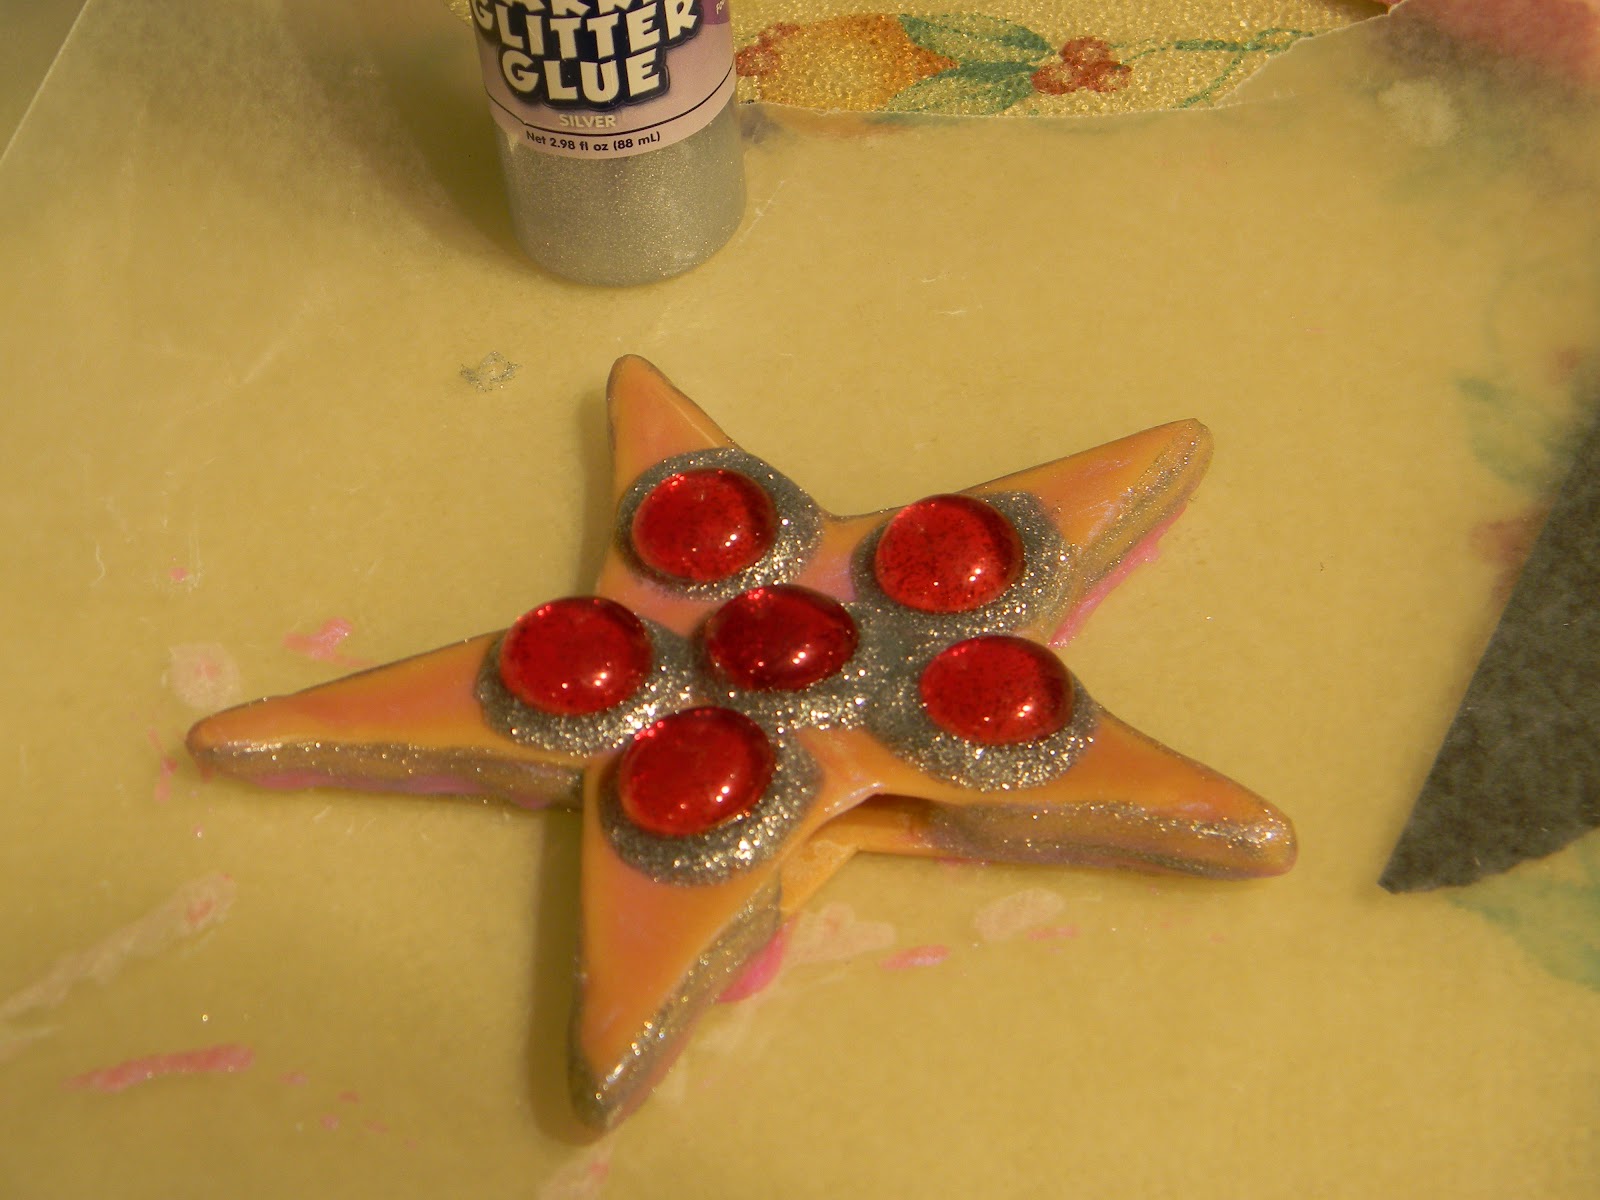
The star for the top of the wand is made from polymer clay. I sanded the star with wet sand paper and baked it again to make sure it was dry. Then I painted the edges with the glitter paint and sealed the front with glossy polymer glaze. Once that dried I used glitter glue to attach big, red, glass "jewels". I'll do the same to the back of the star once this dries.
The handle of the wand is a dowel rod that I tried to cover with silver leaf but that didn't work. I sanded all that off, used a rasp to shape the top of the dowel to fit into the star and painted the dowel with gray paint. When the gray paint dried I painted it again with glitter paint.
Not much more to go now. I can hardly wait to finish.
Sunday, September 26, 2010
Thursday, September 23, 2010
Progress for Glenda
For the last couple of nights there hasn't been any progress that is picture worthy. I'm still adding glitter glue stars to the dress. Those have to be done a few at a time and they take at least 24 hours to dry. I've Mod-Podged a strip of the pink satin to make the crown, still waiting for measurements for that. The Mod-Podge is also a somewhat slow process to get both sides done multiple times. I have the dowel rod primed and ready to paint for the handle of the wand and the polymer clay star top shaped and baked.
Saturday, September 18, 2010
It's Magic!
The Glenda dress is coming along. I really enjoy making costumes but this material sucks. It's very slippery and snags easily and unravels like crazy. Good thing it's only a costume.
I now have the sleeves and skirt attached to the bodice. Extra tulle is added to the front of the bodice and the top of the sleeves.
With all the tulle attached it is time to paint on the sparkle. I'm using glitter glue and will have to do that in stages. I've placed some paper under the first layer of tulle to protect the under layers. That will dry over-night and I'll add more glitter over the next few days.
Sure hope the glue doesn't stick to the paper too hard to get the paper out. Guess I'll find out in the morning.
I now have the sleeves and skirt attached to the bodice. Extra tulle is added to the front of the bodice and the top of the sleeves.
With all the tulle attached it is time to paint on the sparkle. I'm using glitter glue and will have to do that in stages. I've placed some paper under the first layer of tulle to protect the under layers. That will dry over-night and I'll add more glitter over the next few days.
Sure hope the glue doesn't stick to the paper too hard to get the paper out. Guess I'll find out in the morning.
Friday, September 17, 2010
Beginning the Glenda the Good Witch Costume
I've been sewing since I was a child. When I grew up and had children of my own, I sewed a lot of their cloths. My favorite thing to make was costumes. We had costumes of a skunk, dragons, Indians, rabbits, dead guys, ninjas and a California raisin. My children are grown and now have children of their own. Once again I have more costumes to make. This year's request, from my 6 year old granddaughter, was for Glenda the Good Witch. If you don't know or remember what Glenda wore, Google her, it's a very impressive dress. I won't go quite that elaborate but I don't think my granddaughter will be disappointed.
The first step of the process was to lay out a pattern. The fun thing about costume sewing is making it up as you go. The bodice of the dress will be fitted and have long sleeves. It will close in the back with Velcro so she can handle it by herself. The skirt will be extra full. When the satin layer is finished a layer of decorated tulle will be added. There is also the wand and crown to make. This will be lots of fun.
This evening I got a good, but late, start. First there was the pattern lay-out.
Next I spread out the pink "satin" material and got ready to cut.
The bodice is assembled and beaded lace is attached to the neckline. The next step will be in-setting the sleaves.
I'm not showing the skirt because at this time it's just a straight piece of material. A lot of material, that will be gathered into a very full skirt. Gathering the skirt and attaching it to the bodice is for another day.
The first step of the process was to lay out a pattern. The fun thing about costume sewing is making it up as you go. The bodice of the dress will be fitted and have long sleeves. It will close in the back with Velcro so she can handle it by herself. The skirt will be extra full. When the satin layer is finished a layer of decorated tulle will be added. There is also the wand and crown to make. This will be lots of fun.
This evening I got a good, but late, start. First there was the pattern lay-out.
Next I spread out the pink "satin" material and got ready to cut.
The bodice is assembled and beaded lace is attached to the neckline. The next step will be in-setting the sleaves.
I'm not showing the skirt because at this time it's just a straight piece of material. A lot of material, that will be gathered into a very full skirt. Gathering the skirt and attaching it to the bodice is for another day.
Sunday, September 12, 2010
The Finished Product
This has been a very productive day. I've finished a crocheted afghan for our DAR raffle, I've finished the necklace and got my laundry done.
The necklace received structural support with herringbone stitches between every loop.
Remember the inspiration necklace?
My version is finally done. No jewels here but plenty of bling. Close up view of necklace front.
Completed necklace.
Side view of necklace.
Toggle closure.
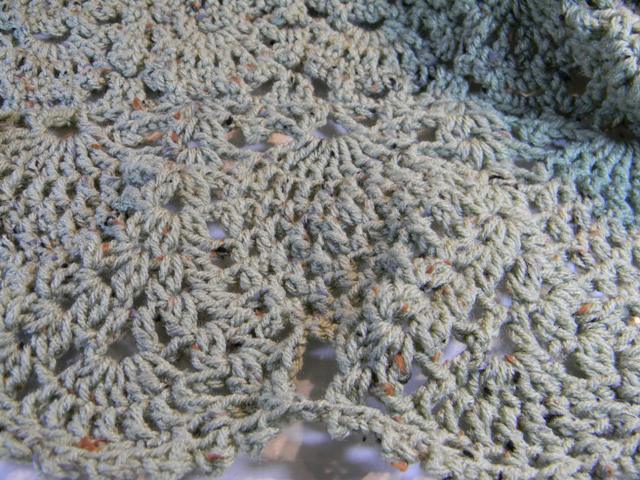
Just because I mentioned completing an afghan, here's a couple shots from that. It's lap/baby size and fully machine wash and dry-able. We will be raffling it to raise funds for DAR.
The next project will be creating the "Good Witch Glenda" costume for my granddaughter. I'll keep you posted on that too.
The necklace received structural support with herringbone stitches between every loop.
Remember the inspiration necklace?
My version is finally done. No jewels here but plenty of bling. Close up view of necklace front.
Completed necklace.
Side view of necklace.
Toggle closure.
Just because I mentioned completing an afghan, here's a couple shots from that. It's lap/baby size and fully machine wash and dry-able. We will be raffling it to raise funds for DAR.
The next project will be creating the "Good Witch Glenda" costume for my granddaughter. I'll keep you posted on that too.
Saturday, September 11, 2010
Adding Structure
I've finished adding the first layer of bottom fringe.
The next step was to add small sapphire blue rounds to the top between every picot. After that was completed I began adding rows of herringbone stitched pieces between every loop from, the just added blue rounds to the fringe below.
This part will take a long time. Adding the rows between the loops adds strength to the necklace. The difficulty comes from trying to keep the line from tangling around all the other beads. Once that has been completed for the full length of the necklace I will add a final layer of fringe to the bottom edge of the necklace.
The next step was to add small sapphire blue rounds to the top between every picot. After that was completed I began adding rows of herringbone stitched pieces between every loop from, the just added blue rounds to the fringe below.
This part will take a long time. Adding the rows between the loops adds strength to the necklace. The difficulty comes from trying to keep the line from tangling around all the other beads. Once that has been completed for the full length of the necklace I will add a final layer of fringe to the bottom edge of the necklace.
Thursday, September 9, 2010
Thursday's Installment
I didn't think I'd have time to work on the necklace tonight but I was able to get to my cave after all. Tonight I managed to get a little more than half of the first layer of embellishment completed.
The original necklace is predominantly green but I chose to go with blue. Once this layer is done I'll add another layer of the seed beads and a few more crystals on top. Below are a couple more pictures of the progress from tonight.
As you can see this necklace will be fully loaded. Looks like it will be a great necklace for holiday dressing.
The original necklace is predominantly green but I chose to go with blue. Once this layer is done I'll add another layer of the seed beads and a few more crystals on top. Below are a couple more pictures of the progress from tonight.
As you can see this necklace will be fully loaded. Looks like it will be a great necklace for holiday dressing.
Subscribe to:
Posts (Atom)